Well after a very warm few weeks in Septemer, it definitely feels like the weather has turned. Here at Stickerscape we’re already getting ready for Autumn and Halloween, and decorating the office with some of our Autumn window stickers. There are a number of us who love autumn and therefore we thought what better time to share with you some of our favourite Autumn arts and craft ideas. These are great to do with family to decorate the house with and some also involve getting out and a bit for some nature walks – a great way to get some fresh air.
1. Paper strip pumpkin
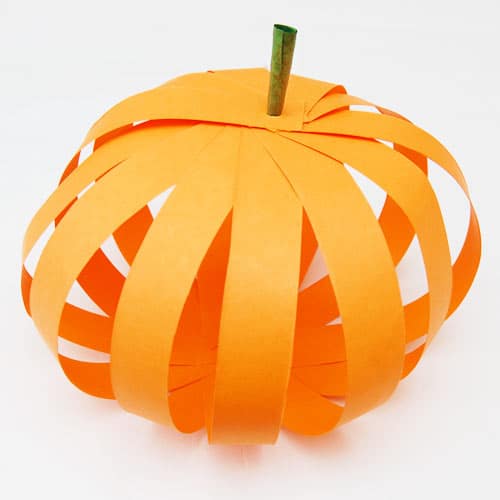
This is a super nice one to do with the children, and it’s really easy to put together. All you’ll need is some orange paper, a small piece of green card (or white card painted green) glue, scissors, and a hole punch. The first step, is to cut out even strips of orange paper. You’ll need about 12 sheets in total.
Step 2 is to take 4 strips and glue two together, to make two long strips. Once you have this make a cross / plus symbol by overlapping one long strip over the other, in the centre. Take the remaining strips and glue them to the centre at 1 o’clock, 2 o’clock, 4 o’clock, and 5 o’clock. Repeat this on the other side to fill up the circle.
Step 3 is to use the hole punch to add a hole at the end of each strip, on the outer edge of the circle.
Step 4 is to make the stem but cutting out a small piece of green card and rolling it up. It helps if this card stock is a little thicker/stiffer. You want one end to be thicker than the other.
Step 5 is to mount the strips onto the stem. Take your orange paper at 1 o’clock and push this onto the stem until it sits well. Before taking your piece at 2 o’clock, glue the top side at the end so that when you place it on the step, it will stick to the piece above. Repeat this step until all strips have been mounted onto the stem.
Ta da – one paper strip pumpkin!
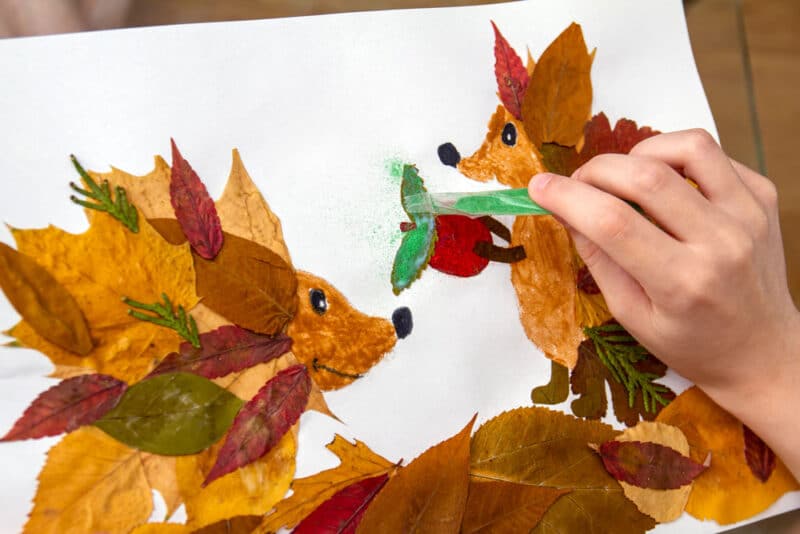
2. Autumnal collage
I remember much of my time at primary school was making collages. I was slightly obsessed with them! Autumn is a great time of year to do collages as you can really show the changing of the seasons with different coloured leaves.
This is a great way to also combine a trip to your local woodland and take a walk in nature. Shown below are a couple of examples of creating Autumnal collages. One is just a collection of leaves and items found on a nature walk. You can talk about how the leaves look different from other times of the year. Alternatively, you can let your child try to use different textures to create an autumnal scene, maybe a hedgehog or pumpkin.

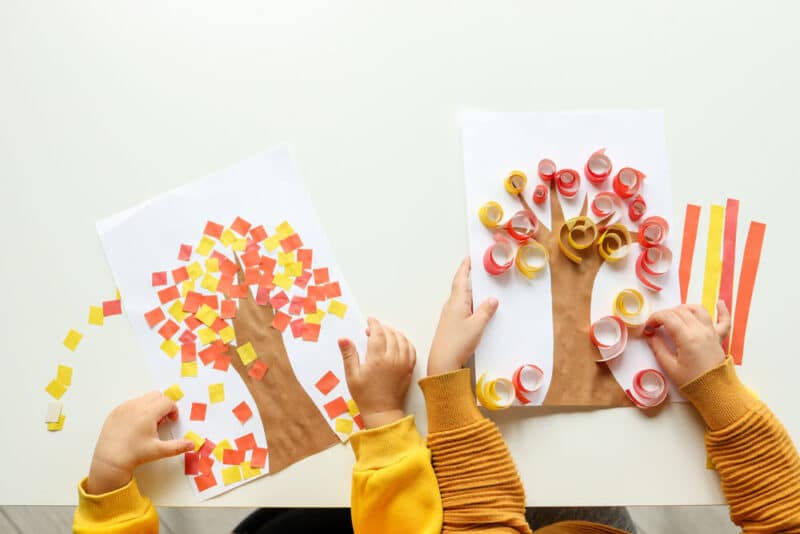
3. Finger painting an autumn tree
If your children are anything like ours, they love painting! The explosion of colour makes their minds run wild – albeit it can be a little stress-inducing when the paint is going everywhere! You can take a little more control therefore by trying some finger painting and creating an autumn scene like this.
It’s super simple – just draw a tree and then let your child use their fingers to paint leaves in yellows, oranges, reds, and brown – classic autumnal colours. We’ve also shown an example here if your child doesn’t like getting messy (they are out there – trust me!) to create the same effect but using the collage idea above.
Credit: First Palette

4. Autumnal wreath
It’s become really popular in recent years to create autumnal wreaths for the front door to signal the changing seasons. This might be a bit advanced for your little ones however you can get them to create a paper equivalent with this super simple idea.
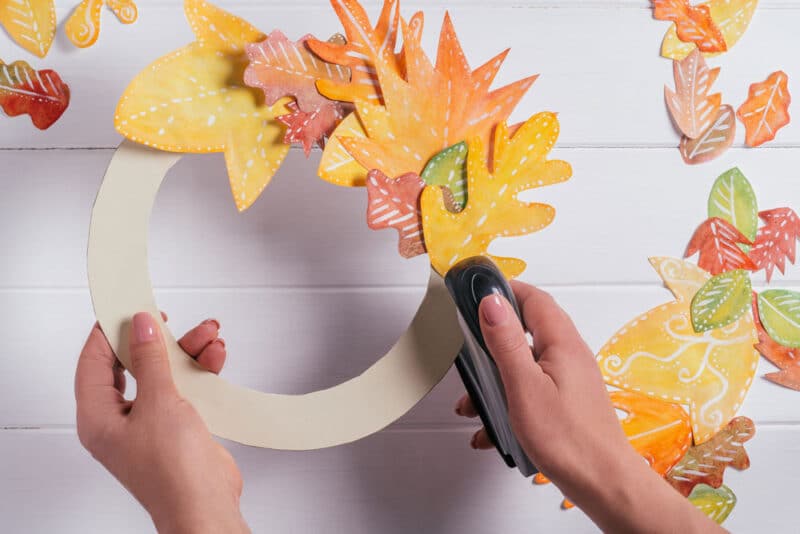
First, you’ll need a base card. This would be good to be a fairly rigid card or corrugated box. Make a circle by drawing around a bowl and then cutting it out. Then cut out a smaller circle from the centre to be left with a rim.
Next, from different coloured paper and card, cut out leaf shapes. You might need to help your little one here if they’re very young and not confident with seasons. You’ll need quite a lot to create a nice full wreath. Once finished, you can then either glue or staple these to the wreath itself.
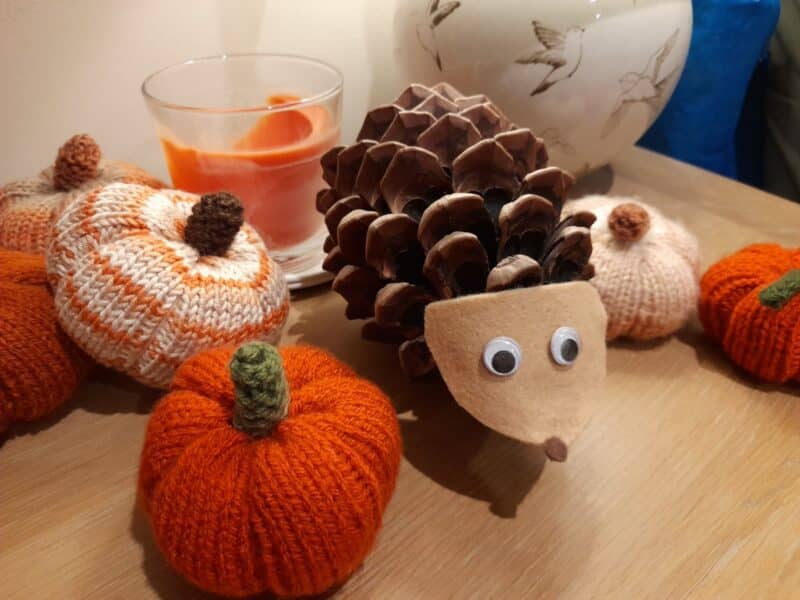
5. Pine cone hedgehog
Last, but by no means least is a hedgehog made from a pine cone. This is SUPER cute, and is actually quite a quick one to create! All you need is a pine cone, preferably a good sized one, a little piece of brown card, and some self-adhesive eyes.
Firstly, work out in which position the pine cones will sit nicely on a flat surface. Then create the face by cutting out a triangle from your brown card and then folding over the top edge by about 1-2cm. Stick to eyes on the front and colour in a little brown nose at the tip of the triangle.
Place the folded section into the pine cone itself (this can be help in place with a little pin or a rubber band if required). And that’s it – a super cute pine cone hedgehog!
And that’s it – 5 awesome autumn arts and craft ideas to do with the family this Autumn. These are perfect for spending quality time with the family and are really a great way to encourage your children out into nature to forage for some of the required items. Please do share with us any of your creations and let us know your own favourite autumn arts and craft ideas!


